A View Into Our Homeschool Days: Physics Lessons Part 1
When I first started home educating, I was very keen to see what it looked like for current homeschoolers on a day to day basis. So, I’m starting a series of shorter posts highlighting a detailed snapshot of what home education looks like for us each week/month for the different subject areas. First up: physics.
This year, the Beans have requested to learn all about forces, electricity and waves in their science lessons. So, physics – my least-enjoyed subject at school, but since I’ve been teaching the Beans, I’ve fallen in love with it for the first time…
Personally, I think this says a lot about the education system because I achieved an A grade at GCSE in the subject, but internally I felt that I didn’t understand it at all… Now, having to dissect the content and teach it to children who will not let me off the hook if I don’t explain it 100% properly, asking me question after question from every different angle, leaving no stone unturned, I can say that I thoroughly understand it! And thus, enjoy it.
Overview of How it Works
I’m in a really comfortable place with how our science learning is working. Rather than choose a scattergun approach and cover lots of topics at a high level (and remember nothing…), we delve deep into those that interest us, right up to GCSE level and sometimes beyond.
We work in a small group of four children, the Beans and a friend’s two sons. I create lesson plans for each of the topic areas, but we move through them at the rate that works for the children.
Each lesson will involve reading and discussing the theory (often at length); practising with questions; completing hands-on experiments and their write up; and sometimes watching the odd You Tube video to explain a concept.
If there’s a particularly meaty topic, for example Newton’s Laws, which elicits a million questions, we’ll take it slowly and discuss fully, using a variety of different examples and experiments until they fully understand all the concepts – to the point that they could teach it to someone else (this is key).

And likewise, if there’s a topic they find simple, we can speed through it and onto the next lesson.
None of them are afraid of admitting when they don’t understand. And we’re in such a small and connected group, that I can regularly intersperse our conversation with questions to validate their comprehension. Sometimes, when my friend and I have explained a concept in every way we can think of and they still don’t get it, we bring in MrJ, a physics fan, who always comes up with examples that seem to work for them.
For example, recently they were struggling with Newton’s Third Law of Motion: to every force, there is an equal and opposite force. They were stuck on the example of pushing a shopping trolley. If you were pushing it with force A and it was therefore pushing you back with the same force according to Newton’s Laws, they couldn’t get their heads around why it moved forward and you didn’t feel anything. They understood about how much more friction existed between the ground and their feet versus that of the wheels and the ground, but it just didn’t feel right to them.
So, MrJ used another similar example. He asked them to imagine that Bean9 & 11 were the same weight and were both sitting in the same type of shopping trolley next to one another. Then, he asked them what would happen if one pushed the other. They eagerly admitted that they’d both move backwards to the same extent.
Using this example in which all other factors, such as friction, were constant and therefore essentially removed from the picture, it allowed them to see how one force is met with an equal and opposite force. Getting the right image of how a concept works in your minds is key to long term understanding.
The Lessons
Their first few lessons (speed, acceleration and introducing forces), which I’ll explain in more detail below were fairly simple and straightforward. I’ll save the lessons on Newton’s Laws for a later post once we’ve completed all our experiments on this topic.
We use the following books as our spines for the subject: Physics for Edexcel International GCSE (Nick England), CGP Edexcel International GCSE Physics – the Revision Book and the Exam Practice Workbook. We’ll also be using this Junk Drawer Physics book for simple experiments.

Please note there is nothing perfect about these lessons, but they’re effective for us: I’m sharing them with you warts and all to show how home education science can work in practice and give you some ideas if you wish to study the same topics.
Lesson One – Speed & Distance-Time Graphs
Speed:
Read/Discuss/Write: Together, we read the sections on average speed and how to calculate, along with the difference between speed and velocity. They memorised the formula and wrote it up in their science journals.
Practise: We practised some calculations using the speed = distance/time equation and reviewed how to rearrange the formula to work out distance or time.
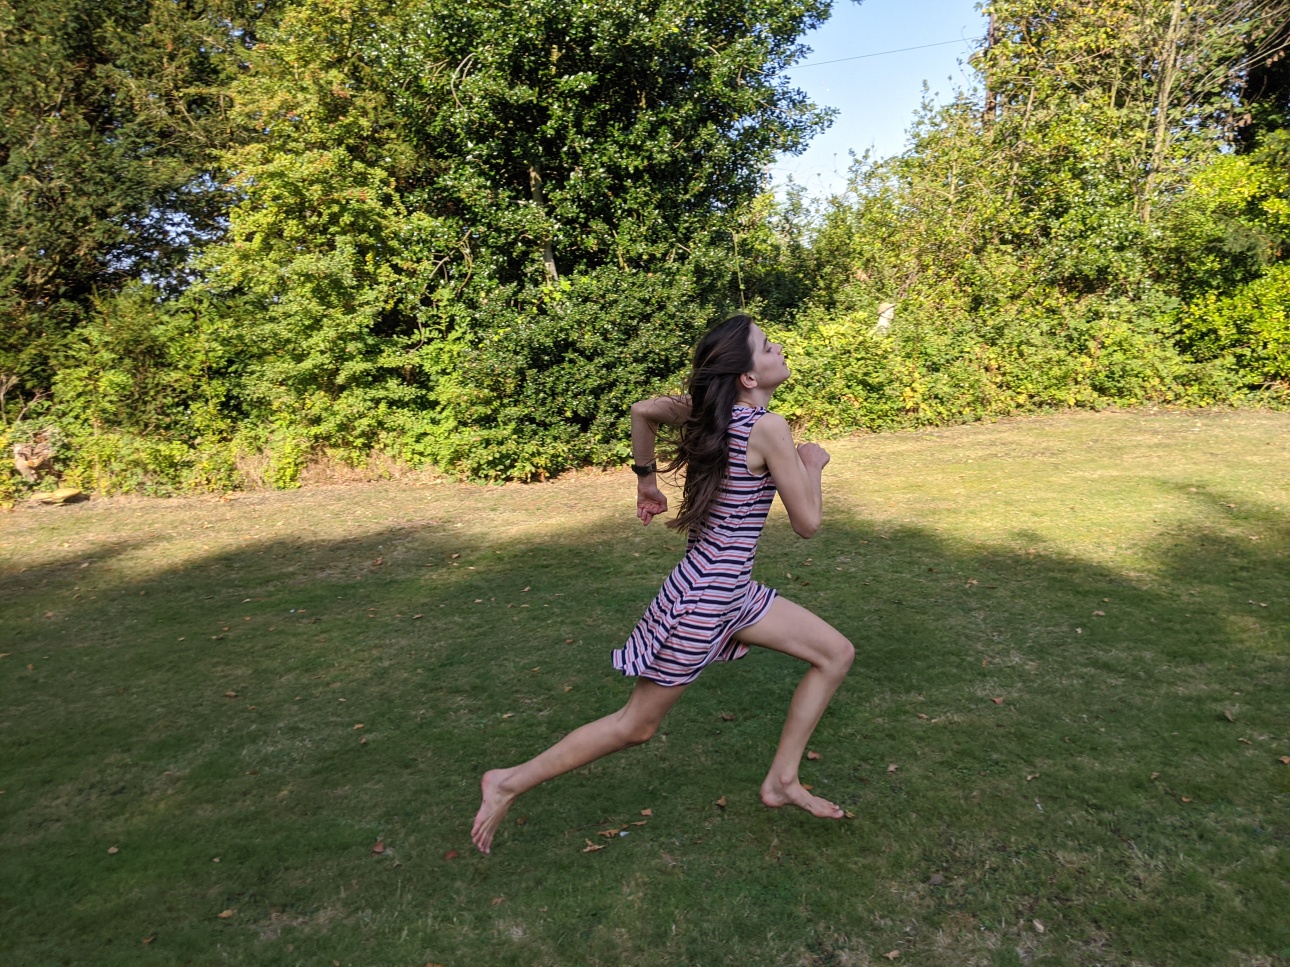
Experiment: They measured out a distance of 40m on the garden and then each child ran the course as quickly as they could, whilst another child timed them. Their speeds were then calculated using the formula. Each child repeated this three times to work out their average speed. And then they had a try with my Garmin running watch which calculates their speeds for them!
Distance-Time Graphs:
Read/Discuss/Write: The section on distance/time graphs was discussed and analysed as a group; we reviewed the various example graphs; and they wrote up the key learning points.
Practise: Using the data in the Nick England book, they drew their own distance-time graph. Working out the correct intervals to use along each axis when representing data in a graph was something I’d picked up from their end-of-year “tests” as something at which they needed more practice. This was a good opportunity to practise this skill.
Next, I asked them to draw a rough sketch of a distance-time graph representing a story of a journey of one of their teddies. They had to explain its journey to me through the graph, so for example, “at this flat point on the graph, you can see that Snowy stopped to look at a butterfly, and here you can see how the line on the graph moves up steeply, as the butterfly moved away and Snowy accelerated to chase it!”

Finally, we completed the lesson by working through the study questions in the Nick England book.
Lesson Two – Acceleration & Velocity-Time Graphs
As we always do, we started off this lesson with a few quick review questions on the previous lesson to remind them of all they’d learned so far.
Read/Discuss/Write: Together, we looked at the sections on how to calculate acceleration along with velocity-time graphs and how to use them to work out acceleration and distance travelled. They memorised the different formulas, practised using them and wrote up their learnings.
We also read about the use of light gates and ticker timers, discussing how these methods for observing and calculating motion worked. We spent a while on this and although unfortunately my budget doesn’t stretch to purchasing a ticker timer or light gates, after in depth discussions, they could easily explain back to me how this equipment could be used to study motion.

Practise: In our group, they took turns verbally answering the study questions from the Nick England book and the questions about velocity, acceleration, distance-time and velocity-time graphs from the Exam Workbook.
Experiment: I had planned for them to make a model cork accelerator from this excellent Junk Drawer Physics book, but as they’d easily understood the concepts, we decided to skip this and move onto the next topic instead.
Lesson Three – Introducing Forces
Read/Discuss/Write: Firstly, we read and discussed the following topics:
- What a force was, the unit of measurement and the difference between vector and scalar quantities
- Different types of forces, such as weight, tension, friction, thrust, drag, lift etc
- How to draw forces on a diagram
- Adding forces and resultant forces and state of motion
As we chatted through each topic, I tried to make it as hands-on as possible. For example, when discussing contact forces, they each had to find objects from around the house to demonstrate the three types of contact force. They brought me rulers that bent to demonstrate changing the shape of an object; balls that could be thrown to show changing the speed of an object; and steering wheels in toy cars to display changing the direction.
When debating the difference between mass and weight, they all stood on the weighing scales to determine their mass, multiplying it by 10 to calculate their weight in Newtons on earth.
We had them playing tug of war to demonstrate tension force and rubbing blocks of wood together to demonstrate friction. They added Vaseline to act as a lubricant between the blocks of wood and thus reduce the friction, although they concluded this was ineffective, and that an oil would work much better!
Together we examined a variety of toy cars and trucks for their streamlining effectiveness and talked about the importance of this for reducing drag through the air. I shared a story of when the garage fitted our roof box on the wrong way around and I had to point out to them that even though I wasn’t a mechanic, I could see that wasn’t going to be the most efficient way of us getting down the motorway!

After much discussion, they wrote up their findings creating their own example diagrams to show the direction and magnitude of various forces.
Practise: As part of our discussion, they calculated some example questions about adding forces and determining resultant forces. Then together we completed the study problems verbally, along with some questions from the exam workbook. Here are some examples:

Experiment: Investigating the motion of a toy car on a ramp. This photo shows how the apparatus should have been set up:

We didn’t have light gates, so we adapted the experiment by using human timers, one at the bottom of the ramp and another at the end of the runway. Both timers started as the car was released and stopped when the car passed them. Clearly this was substantially less accurate but a good discussion point, nonetheless.
The speed on the ramp was simply calculated by dividing the distance of this section by the time taken for the car to reach the first timer.
The speed on the runway was computed by dividing the distance of this section by the time taken for the car to reach the second timer minus the time over the first section.
Changing one variable at a time, we:
- tested various cars to see which was the fastest
- added weights onto the car to determine how mass affects its speed
- changed the friction on the slope by adding soap initially to decrease friction and then sticking on a piece of fabric to increase it
- altered the angle of the ramp to see how that affected the car’s speed down the slope
They had great fun with the experiment, and afterwards wrote it up using the standard scientific approach of hypothesis, method, results and conclusions. Even despite the human error associated with timing, they could conclude that the most streamlined car was the fastest; adding mass increased the speed, as did increasing the angle of the slope; and the increased friction from the fabric substantially slowed down the car’s speed, although adding soap made little difference (probably because the plastic material was already so low in friction).

Our next few lessons focused on Newton’s Laws, which I’ll write up in another post. Hopefully, it’s been helpful to see what we do – please do not hesitate to ask any further questions you have below.


2 Comments